yellow tongue flooring installation guide
Yellow tongue flooring is a durable, cost-effective solution for residential and commercial spaces, offering a structurally sound and versatile option for various subfloor conditions.
1.1 Understanding Yellow Tongue Flooring
Yellow tongue flooring is a type of particleboard flooring with a tongue and groove joint system, offering durability and ease of installation. It features a yellow coating for general residential use, termite resistance, and suitability for wet areas with proper sealing. This versatile option is widely used for its structural integrity and cost-effectiveness in various applications.
1.2 Importance of Proper Installation
Proper installation of yellow tongue flooring ensures a stable, durable, and visually appealing surface. It prevents issues like unevenness, warping, and structural weaknesses. Correct application of adhesives and fasteners is crucial for long-term performance. Ensuring the subfloor is clean, dry, and level beforehand is essential to avoid common installation mistakes and guarantee a professional finish that withstands heavy use and environmental factors effectively.

Subfloor Preparation
Subfloor preparation involves assessing site conditions, ensuring cleanliness, leveling the surface, and controlling moisture to create a stable base for yellow tongue flooring installation.
2.1 Assessing the Site and Subfloor Conditions
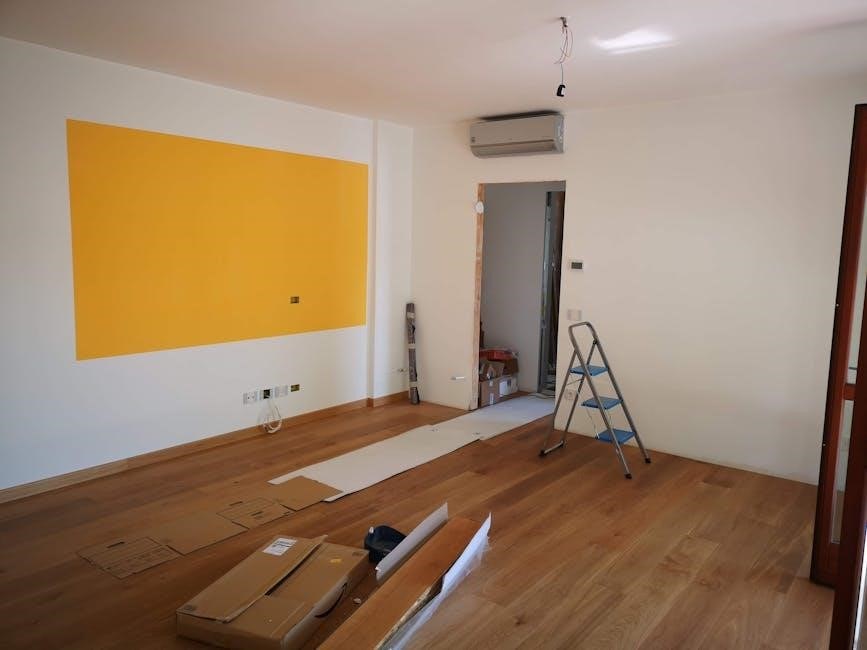
Assessing the site involves evaluating subfloor conditions for cleanliness, dryness, and levelness. Ensure the subfloor is structurally sound and free from debris. Check for moisture levels to prevent future issues. Verify that the subfloor meets the manufacturer’s requirements for yellow tongue flooring installation. Address any unevenness or damage before proceeding to ensure a stable base.
2.2 Cleaning and Leveling the Subfloor
Thoroughly clean the subfloor, removing dirt, oil, and old adhesives to ensure proper bonding. Use a spirit level to check for evenness and address any irregularities. Fill gaps or dips with a suitable leveling compound and allow it to dry completely. Sand the surface to achieve a smooth finish, ensuring the subfloor is ready for yellow tongue flooring installation.
2.3 Moisture Control and Subfloor Dryness
Ensure the subfloor is completely dry, as moisture can compromise the integrity of the yellow tongue flooring. Use a moisture meter to verify dryness, aiming for levels below 12%. Address any dampness by improving ventilation or applying a waterproofing membrane. A dry subfloor is crucial for a stable and long-lasting installation, preventing warping or adhesive failure.
Tools and Materials Needed
Essential tools include measuring tapes, utility knives, and fastening tools. Materials required are construction adhesives, nails, and screws. Ensure all items are suitable for yellow tongue flooring.
3.1 Essential Tools for Installation
The installation requires a tape measure, utility knife, screwdriver, drill, and fastening tools. Additional tools include a chalk line, carpenter’s square, and safety gear. Ensure all tools are readily available for a smooth process.
3.2 Required Materials and Adhesives
Essential materials include yellow tongue flooring panels, construction-grade adhesive, and mechanical fasteners; Additional supplies like underlayment and waterproofing membranes may be needed for specific conditions. Ensure adhesives are compatible with the flooring type and follow manufacturer guidelines for application to guarantee a secure and durable installation.

Installation Steps
Begin by laying the first row, ensuring proper alignment. Apply construction adhesive to joists, then secure flooring with nails or screws, maintaining even spacing for stability.
4.1 Starting the Layout and First Row
Begin by assessing the room’s dimensions and marking the center point. Lay the first row along the longest wall, ensuring boards are aligned and securely fastened. Apply adhesive to joists before placing each board, then nail or screw them in place. This sets the foundation for a straight and even installation process.
4.2 Installing Subsequent Rows
After the first row, subsequent rows should be installed by maintaining alignment and ensuring each board fits snugly into the tongue-and-groove joint. Stagger joints between rows for added structural integrity. Use a rubber mallet to tap boards into place, ensuring proper fit. Leave a 10mm gap along walls for expansion. Secure each board with nails or screws, following the manufacturer’s spacing recommendations for a stable and even surface.
4.3 Securing the Flooring with Nails or Screws
Secure yellow tongue flooring using nails or screws to ensure stability and prevent movement. Nail or screw each board at recommended intervals, typically 200-300mm, into the subfloor joists. Use a rubber mallet to tap boards firmly into place, ensuring tight contact with the subfloor. Avoid over-tightening, as this may damage the tongue-and-groove joints. Proper fastening ensures a sturdy and long-lasting installation.
4.4 Finishing the Installation
After installing all boards, inspect the floor for gaps or unevenness. Address any issues by adjusting boards or filling gaps with wood filler. Once satisfied, apply the recommended sealant or finish to protect the flooring and enhance its appearance. Allow the sealant to dry completely before returning furniture or allowing foot traffic. This final step ensures a polished, professional look and long-term durability.

Post-Installation Care
Regularly clean the floor with a damp mop and mild detergent. Avoid harsh chemicals or excess water. Apply a recommended sealant to protect the surface and maintain its appearance.
5.1 Cleaning the Newly Installed Floor
After installation, sweep or vacuum the floor to remove dust and debris. Use a damp mop with a mild detergent to clean the surface, avoiding excessive water. Avoid harsh chemicals or abrasive cleaners that could damage the flooring. Regular cleaning prevents dirt buildup and maintains the floor’s appearance. Always follow the manufacturer’s cleaning recommendations for optimal results.
5.2 Sealing and Maintaining the Flooring
Apply a high-quality polyurethane sealant to protect the yellow tongue flooring from moisture and wear. Follow the manufacturer’s instructions for application. Regularly inspect the floor for scratches or damage and address them promptly. Maintain the flooring by sealing any gaps and ensuring it remains dry, especially in wet areas. Proper sealing and maintenance extend the lifespan and preserve the appearance of the flooring.

Common Mistakes and Solutions
Avoid inadequate subfloor preparation and uneven surfaces, as they lead to flooring instability. Ensure proper nailing and alignment to prevent gaps and misalignment during installation.
6.1 Avoiding Gaps and Misalignment
Ensure accurate measurements and proper alignment during installation to prevent gaps. Use a chalk line to mark joist locations and secure boards tightly. Regularly check the tongue-and-groove connections to maintain even spacing. Avoid over-tightening, which can cause warping. If gaps appear, fill them with wood filler before sealing to maintain a seamless finish and structural integrity.
6.2 Fixing Uneven or Loose Boards
Identify uneven or loose boards by inspecting the floor for gaps or movement. Check the subfloor for levelness and fill any low spots with a self-leveling compound. Ensure boards are securely fastened with nails or screws. If a board is loose, apply construction adhesive and re-nail or screw it into place. Sand uneven areas to create a smooth surface before sealing.

Wet Area Installation Considerations
Ensure a waterproof barrier is installed beneath Yellow Tongue flooring in wet areas. Proper sealing and subfloor preparation are essential to prevent moisture damage and ensure durability.
7.1 Special Requirements for Wet Areas
For wet areas, ensure a waterproof barrier is installed beneath Yellow Tongue flooring to prevent moisture damage. Use sealed joints and consider waterproof adhesives. Proper ventilation is essential to maintain dryness. STRUCTAflor and similar products are recommended for their moisture-resistant coatings. Always follow manufacturer guidelines for wet area installations to ensure longevity and performance of the flooring system.
7.2 Waterproofing and Sealing Tips
Apply a waterproof membrane to the subfloor before installing Yellow Tongue flooring in wet areas. Seal all joints and edges with a moisture-resistant sealant. Use STRUCTAflor products with yellow tongue coatings for enhanced water resistance. Ensure adhesives are fully cured before exposing the floor to moisture. Regularly inspect and maintain seals to prevent water damage and prolong the flooring’s lifespan.

Comparing Yellow Tongue to Other Flooring Types
Yellow Tongue flooring offers superior durability and cost-effectiveness compared to traditional options, making it a preferred choice for both domestic and commercial applications.
8.1 Advantages Over Traditional Options
Yellow Tongue flooring excels with its durability and cost-efficiency, offering a structurally sound solution. It is resistant to moisture and pests, making it ideal for wet areas and long-lasting performance. Unlike traditional timber, it provides consistent quality and stability, reducing the risk of warping. Its ease of installation and compatibility with underlayment systems further enhance its appeal for modern projects.
8.2 Key Differences and Recommendations
Yellow Tongue flooring differs from traditional options by its engineered structure, offering superior stability and moisture resistance. It is recommended for areas requiring durability and low maintenance. Unlike solid hardwood, it is more affordable and quicker to install, making it a practical choice for both residential and commercial applications where performance and cost-effectiveness are priorities.

Cost Estimation and Budgeting
Estimating costs involves materials, labor, and subfloor preparation. Average installation costs range from $30 to $70 per square meter, depending on location and project complexity.
9.1 Factors Affecting Installation Costs
Installation costs are influenced by materials, labor, and subfloor preparation. The size of the area, complexity of the layout, and local labor rates also play a role. Additionally, the need for specialized tools or additional materials, such as adhesives and fasteners, can affect the overall budget. Proper planning helps in optimizing expenses and achieving cost efficiency.
9.2 Average Cost per Square Meter
The average cost per square meter for yellow tongue flooring installation typically ranges between $40 and $70, depending on materials and labor. This includes the cost of flooring panels, adhesives, and fasteners. Additional expenses may arise from subfloor preparation, underlayment, and specialized tools. Labor costs vary by location and installer expertise, while material quality also impacts the final price.

Safety Precautions
Wear personal protective equipment (PPE) such as gloves and goggles. Ensure proper ventilation when using adhesives. Handle power tools safely to avoid accidents during installation.
10.1 Personal Protective Equipment (PPE)
Protective gear such as gloves, safety goggles, and a dust mask are essential. They prevent injuries from sharp edges and exposure to adhesive fumes. Proper footwear with traction is also recommended to prevent slips. Additionally, hearing protection should be worn when using power tools to safeguard against noise-induced hearing loss. Ensure all PPE is worn consistently during installation.
10.2 Handling Adhesives and Chemicals Safely
Always work in well-ventilated areas when applying adhesives to avoid inhaling fumes. Wear gloves and goggles to protect against skin and eye irritation. Follow the manufacturer’s instructions for application and drying times. Store chemicals in a cool, dry place, away from open flames or heat sources. Dispose of unused materials according to local regulations to ensure environmental safety.
Troubleshooting Common Issues
Inspect for warped or damaged boards before installation. Replace faulty materials promptly to ensure a stable and even surface. Address adhesive failures by verifying proper application and drying times.
11.1 Dealing with Warped or Damaged Boards
Inspect boards for warping or damage before installation. Store flooring in a dry, flat area to prevent warping. Replace damaged boards immediately to avoid installation issues. Ensure proper acclimatization to room conditions. Use manufacturer-recommended handling techniques to minimize damage during installation. Addressing these issues early ensures a smooth and durable flooring system.
11.2 Addressing Adhesive Failures
Inspect the subfloor for cleanliness and dryness to ensure proper adhesive bonding. If adhesive fails, reapply according to manufacturer instructions. Check for adequate ventilation and temperature conditions. Secure loose boards with mechanical fasteners if necessary. Ensure even spreading of adhesive to avoid gaps. Test a small area first to confirm bond strength before proceeding with the installation.
Successful yellow tongue flooring installation requires careful preparation, precise execution, and proper post-installation care. Follow guidelines to ensure durability and aesthetics, achieving a professional finish for years to come.
12.1 Summary of Key Installation Steps
Yellow tongue flooring installation begins with assessing and preparing the subfloor, ensuring it is clean, dry, and level. Apply construction adhesive to joists, then lay and secure boards with nails or screws. Allow for expansion gaps, and finish with sealing if needed. Refer to guidelines for specific tips on materials and tools to achieve a durable, professional result.
12.2 Final Tips for a Successful Project
Always follow manufacturer guidelines for adhesives and fasteners; Ensure proper subfloor preparation to avoid future issues. Use recommended tools and materials for precise installation. Work methodically to maintain alignment and spacing. Wear safety gear and keep the area clean; Regular inspections during and after installation can prevent costly repairs. Plan for expansion gaps and consider sealing for long-term durability and protection.