
manual camper awning
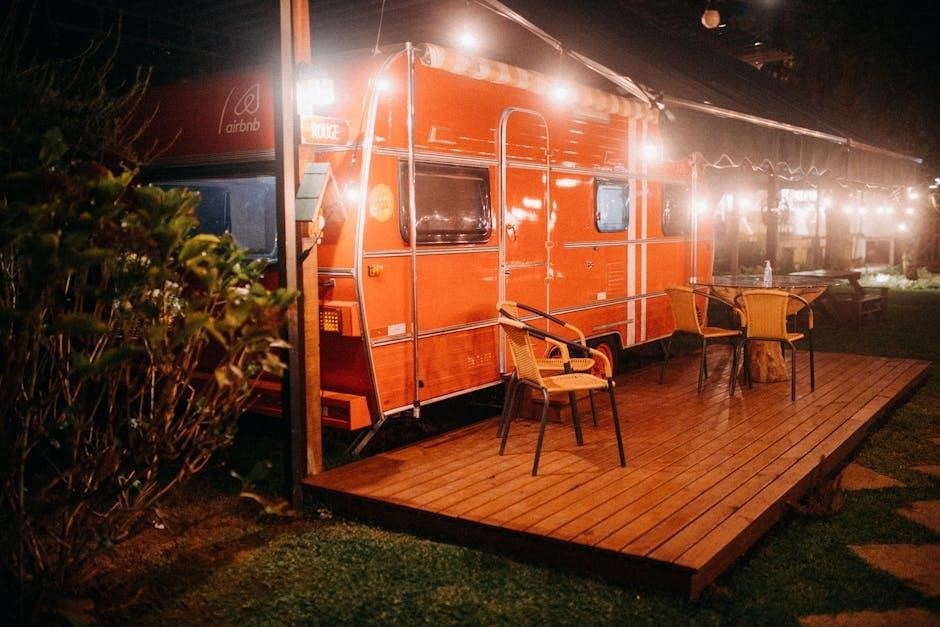
Manual camper awnings provide shade and protection, enhancing outdoor experiences.Popular for durability and ease of use, they are a cost-effective solution for RV and camper owners seeking convenience.
What is a Manual Camper Awning?
A manual camper awning is a versatile shade solution designed for RVs and campers. It consists of a durable fabric attached to a roller tube and supported by adjustable arms. Unlike automatic awnings, manual models require physical effort to extend and retract, offering a cost-effective and straightforward shading option. They provide protection from the sun and light rain, enhancing outdoor comfort during camping trips. The compact design makes them ideal for various vehicle types, including trailers and motorhomes.
Why Choose a Manual Camper Awning?
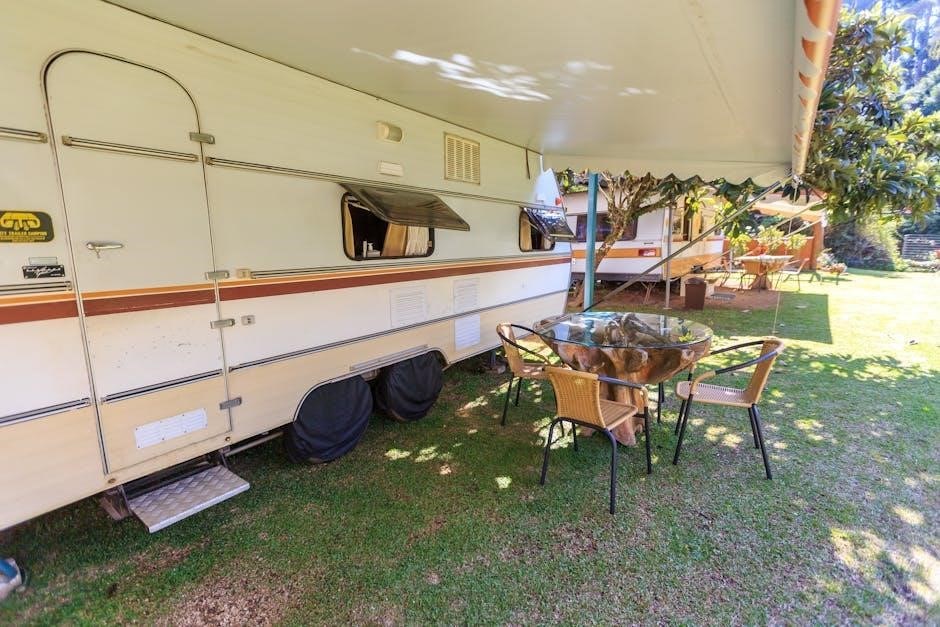
Manual camper awnings are a practical choice for campers seeking durability and simplicity. They are more affordable than automatic models and require less maintenance. Their robust design allows them to handle higher wind speeds, making them suitable for various weather conditions. Easy to install and operate, manual awnings provide reliable shade and protection from the elements. They are an excellent option for campers who value functionality and cost-effectiveness without compromising on performance. This makes them a popular choice for outdoor enthusiasts.

Key Components of a Manual Camper Awning
A manual camper awning consists of durable fabric, sturdy arms, and a roller tube. These components work together to provide reliable shade and weather protection.

The Arms and Their Function
The arms of a manual camper awning provide structural support and stability. Made of durable materials like metal, they are adjustable and attach to the camper’s side. These arms ensure the awning remains secure and evenly spread, offering reliable shade and protection. Proper alignment and tension are essential for optimal performance and safety.
The Fabric and Its Durability
The fabric of a manual camper awning is designed for longevity and weather resistance. Typically made from high-quality vinyl or polyester, it offers UV protection and waterproofing. A 4-layer design enhances durability, with an anti-UV composition and waterproof membrane. This material withstands harsh outdoor conditions, ensuring the awning remains functional and visually appealing over time. Regular maintenance, like cleaning, further extends its lifespan.
The Roller Tube and Its Role
The roller tube is a critical component of a manual camper awning, serving as the core around which the fabric is wrapped. It ensures smooth extension and retraction of the awning, maintaining even tension. Durable materials, often reinforced with spring mechanisms, allow the tube to handle frequent use. Proper alignment and lubrication are essential for its functionality. Over time, the roller tube may require cleaning or adjustment to maintain optimal performance and prevent jamming. Regular maintenance ensures longevity.

Installation and Setup
Proper installation ensures your awning functions smoothly. Mounting the rail above or below the drip rail and securing the fabric correctly are key for stability and performance.
Where to Attach the Awning Rail
The awning rail is typically attached to the side of your camper or RV, either above or below the drip rail. Mounting above the drip rail is common for RVs, as it provides better protection from water and debris. However, some setups may require attaching it below the drip rail, especially for certain camper models. Ensure the rail is level and securely fastened to avoid improper awning alignment. Consider your camper’s design and weatherproofing needs when deciding the attachment point for optimal performance and durability.
Mounting the Awning Above or Below the Drip Rail
Mounting the awning above the drip rail is preferred for most campers, as it provides better protection from rain and debris. This position also ensures the awning remains secure and stable. However, some setups may require mounting below the drip rail, especially if there are obstructions or specific camper designs. Always check your camper’s specifications to determine the best mounting location for optimal performance and durability. Proper installation ensures the awning functions smoothly and withstands various weather conditions effectively.
Securing the Fabric for Optimal Performance
Properly securing the fabric is crucial for optimal performance of your manual camper awning. Ensure the fabric is tightly attached to the roller tube and arms to prevent flapping or sagging. Use the provided straps or elastic cords to fasten the fabric securely, especially during windy conditions. A tight fit prevents water from pooling and reduces the risk of damage from strong gusts. Regular checks and adjustments will help maintain the awning’s integrity and ensure reliable shade and protection during your outdoor adventures.
Operating the Manual Camper Awning
Operating a manual camper awning involves releasing the latches, extending the arms, and securing the fabric tightly. Always ensure proper alignment and tightness for stability in windy conditions.
Step-by-Step Guide to Extending the Awning
To extend the manual camper awning, start by undoing the latches on each arm. Next, loosen the screw handle to release the locking mechanism. Slide the lock up to allow the awning to roll out smoothly. Gently pull the fabric outward while extending the arms. Ensure the arms are fully extended and the fabric is taut. Secure the arms in place using the screw handle and tighten them evenly. Finally, check the alignment and stability of the awning to ensure proper setup.
How to Retract the Awning Properly
To retract the awning, start by loosening the screw handles on both arms. Slide the lock mechanism down to allow the fabric to roll back onto the roller tube. Gently pull the arms toward the camper while guiding the fabric to ensure it rolls evenly. Once fully retracted, tighten the screw handles securely. Check for any obstructions or twists in the fabric. Ensure the awning is tightly secured to prevent damage during travel. Regularly inspect the arms and fabric for proper alignment and wear.
Maintenance and Repair
Regular cleaning and lubrication of moving parts ensure smooth operation. Inspect fabric for tears and repair promptly to maintain water resistance and structural integrity.
Cleaning and Lubricating the Awning
Regular cleaning is essential to maintain the awning’s functionality and appearance. Use mild soap and water to wipe down the fabric, removing dirt and debris. Avoid harsh chemicals that may damage the material. After cleaning, apply a waterproofing spray to protect the fabric. Lubricate the arms and hinges with silicone-based spray to ensure smooth operation and prevent rust. This routine maintenance extends the lifespan of your manual camper awning.
Repairing Tears and Damages in the Fabric
For small tears in the awning fabric, apply a waterproof patch or adhesive repair tape. Larger damages may require sewing with heavy-duty thread. Ensure the area is clean and dry before repairing. For extensive damage, consider replacing the fabric with a durable, UV-resistant material. Regular inspections can prevent minor issues from becoming major repairs, maintaining the awning’s effectiveness and longevity.

Tips for Using Your Manual Camper Awning
Always perform regular maintenance checks, ensure proper alignment when setting up, and choose a shaded area to reduce sun exposure for optimal performance and longevity.

Wind Speed Limits for Safe Usage
Manual camper awnings should not be used in winds exceeding 15 mph to prevent damage. Always retract the awning during strong gusts and ensure it is securely fastened. Properly tension the fabric to avoid flapping, which can cause stress on the arms and roller tube. Regularly inspect the awning for wear and tear, especially after windy conditions. For long-term storage, consider waterproof covers to protect against weather damage. Refer to manufacturer guidelines for specific wind speed recommendations.
How to Store the Awning During Winter
To store your manual camper awning during winter, ensure it is fully retracted and clean. Use a mild soap to remove dirt and debris, then allow it to dry completely. Once dry, cover the awning with a waterproof, UV-resistant cover to protect it from harsh weather. Store the awning in a shaded area or a dry storage facility to prevent sun damage. Regularly inspect the fabric for tears or mildew and address any issues before long-term storage. This ensures optimal condition for future use.

Troubleshooting Common Issues
Common issues with manual camper awnings include jamming, misalignment, and fabric tears. Regular maintenance and proper storage can prevent these problems, ensuring smooth operation.
Fixing a Stuck or Jammed Awning
If your manual camper awning is stuck or jammed, start by loosening the screw handles on the arms. Gently wiggle the arms while pulling the fabric outward. Apply silicone-based lubricant to moving parts to reduce friction. Check for debris or obstructions in the roller tube and clean if necessary. If the issue persists, inspect the fabric for tears or damage that may be causing the jam. Regular maintenance can help prevent such problems.
Adjusting the Arms for Proper Alignment
To ensure proper alignment of your manual camper awning arms, begin by loosening the adjustment screws. Tilt the arms slightly outward and reposition them to align with the roller tube. Tighten the screws firmly once aligned. Regularly check the arms’ alignment to maintain stability and prevent wear. If misaligned, the awning may not extend or retract smoothly. Proper alignment ensures optimal performance and extends the lifespan of your awning. Always refer to the manufacturer’s guidelines for precise adjustment.